Kiwi Ears Division
A nice budget studio headphone from Kiwi Ears
Kiwi Ears, a company renowned for some exceptional in-ear monitors (IEMs) such as the Orchestra Lite and KE4 (both
are amongst my favourites ever IEMs), has now ventured into the over ear headphone market with their latest
offering, the Kiwi Ears Division. Priced at just $50, the Division is positioned as an ultra budget studio headphone.
So is it any good?
I would like to thank Kiwi Ears for providing the Division headphone for the purposes of this review.
If you want to check out more details about the Kiwi Ears Division, here is a non-affiliated link to their product page.
There is an excellent and growing trend where IEM-focused brands like Moondrop, FiiO, and now Kiwi Ears are entering the headphone space. At its price point, the Division stands out as an option for those looking for an affordable, entry-level studio headphone and after having spent a month with the Division I would like to share my thoughts, specifically in this review at both what you get out of the box but in my opinion where this headphone shines, is it a great headphone to start out a journey into with headphone customisation and experimentation.
Read on to find out what customisations I would recommend, but let’s start with what you get out of the box:
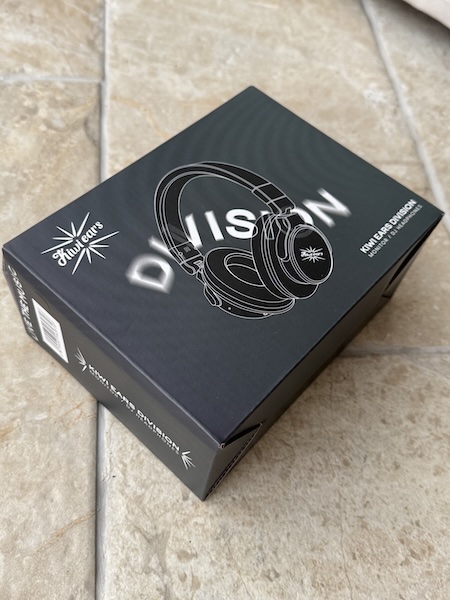
Unboxing Experience
The Kiwi Ears Division comes in a very small minimalistic box, typical of ultra budget headphones:
The back of the box is also more consumer targeted rather than typical audiophile so no specifications. But, for
those interested, I have them later in the review:

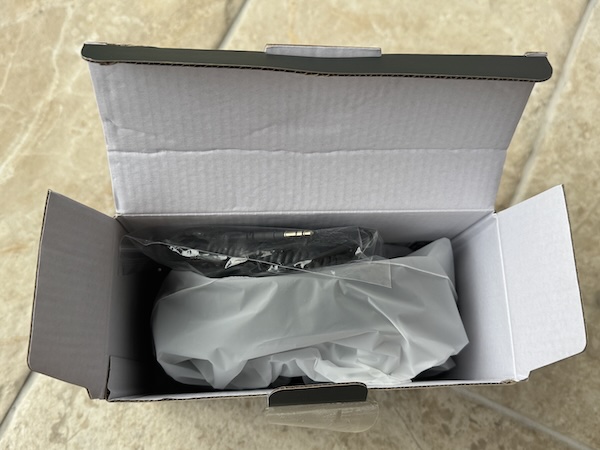
Opening the box reveals again minimal packaging:
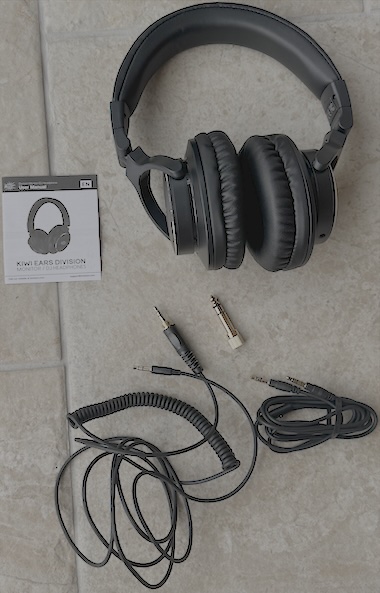
Taking everything out of box:
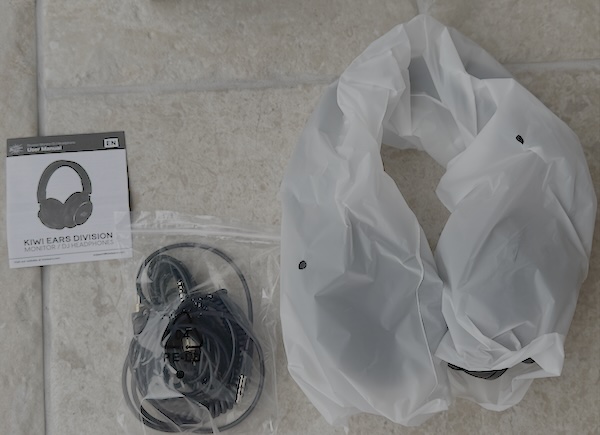
And then taking the headphones out of their packaging:
While it lacks the premium unboxing experience of higher-priced models, it is perfectly fine at its price point.
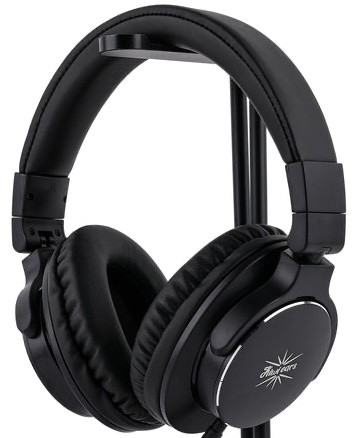
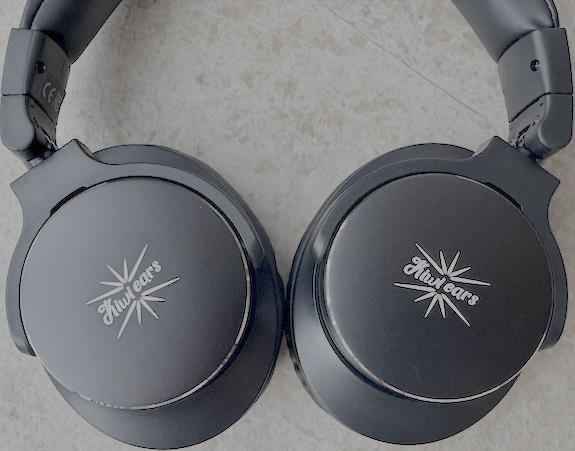
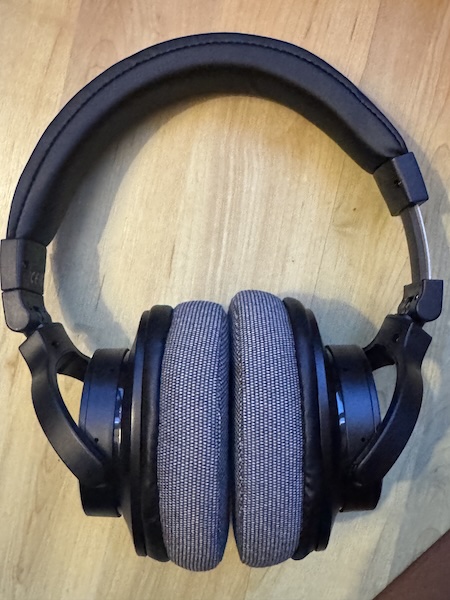
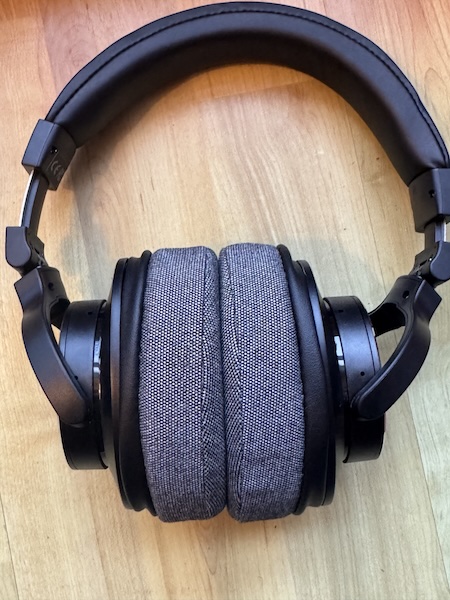
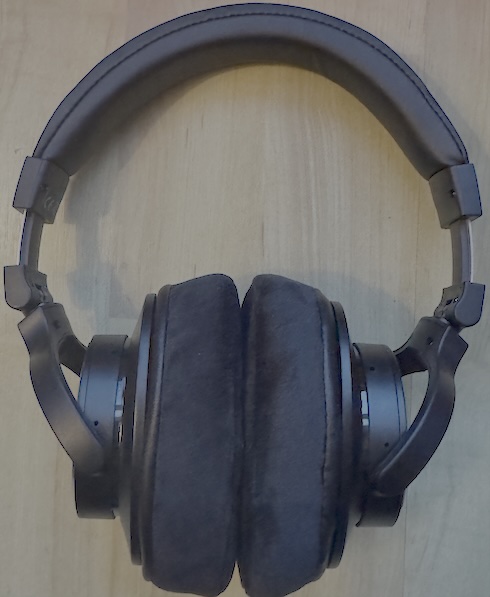
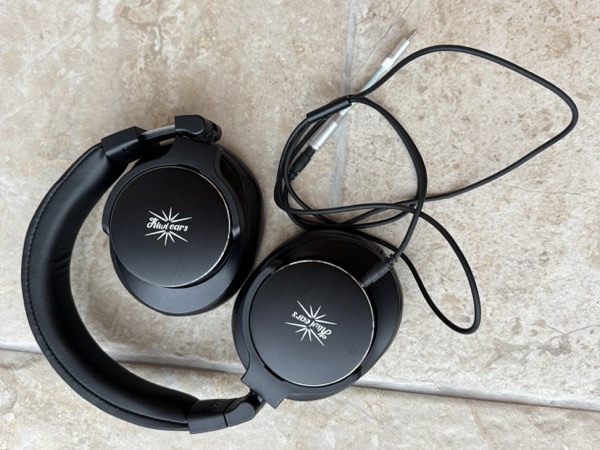
Design, Build Quality, and Comfort
While Kiwi Ears saved money on the packaging, the Division headphone itself showcases some solid build
choices with a lightweight plastic chassis:
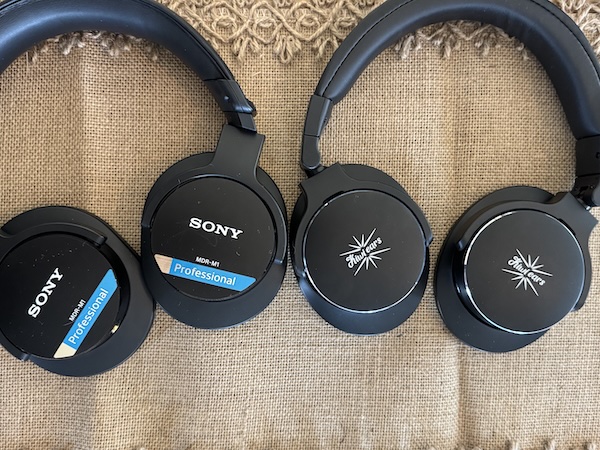
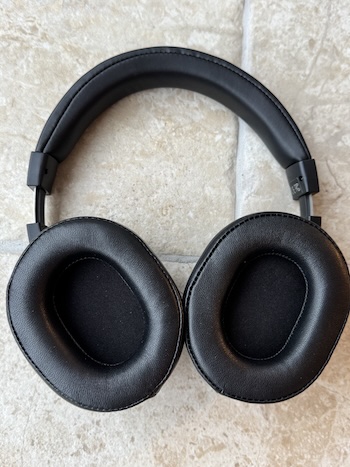
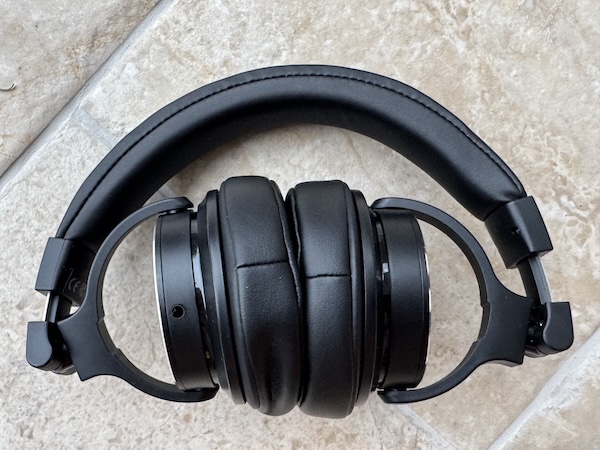
It immediately reminded me of a classic studio reference headphone like my Sony MDR-M1:
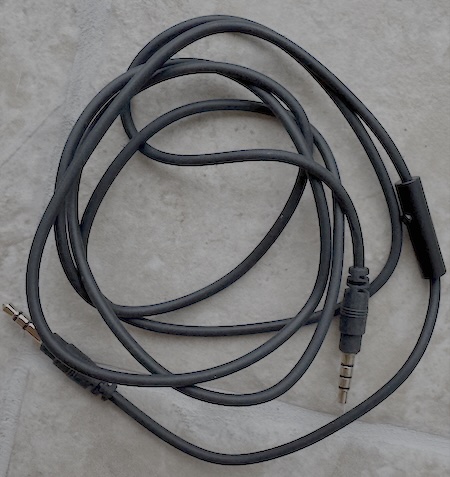
Cables
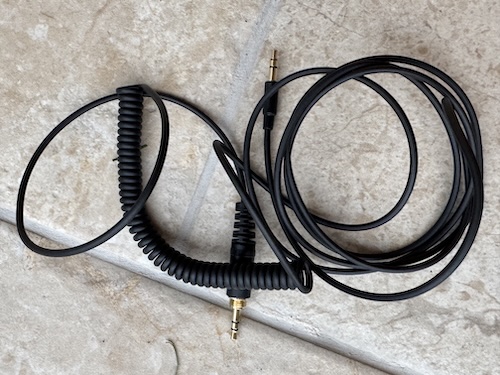
The 2 cables that come with the Division are reasonable for a $50 headphone. One longer one with a spring-loaded
extension mechanism:
and the other with a much more convenient remote control on the cable:
I like the button control (play / pause and launch Siri on long press) on the cable:
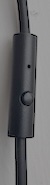
This cable is also has a decent microphone (for the price) in this button control .
Build Quality
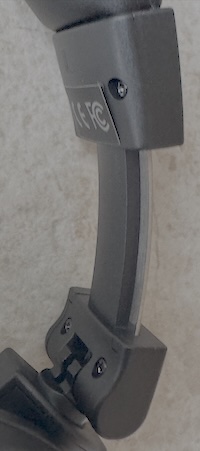
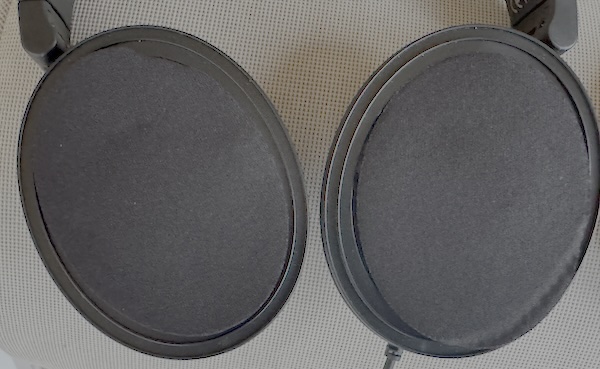
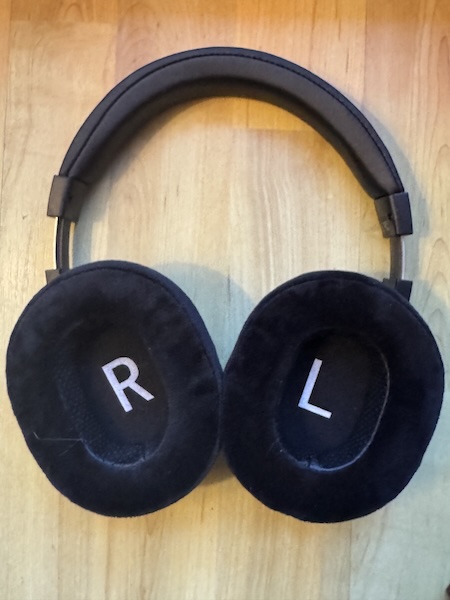
While the overall construction is predominantly plastic, the Division feels sturdy enough to withstand regular use and have a single 3.5mm entry on the left side earpad. A design typical of studio headphones:
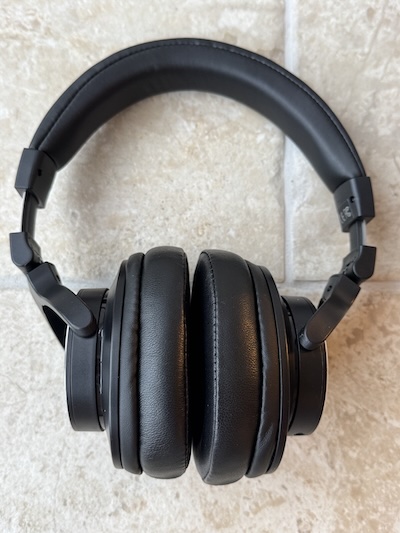
Comfort
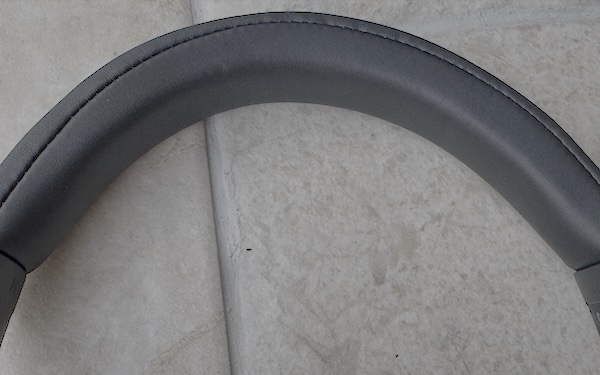
I really like the headband comfort and padding, very typical of this design but
with decent padding:
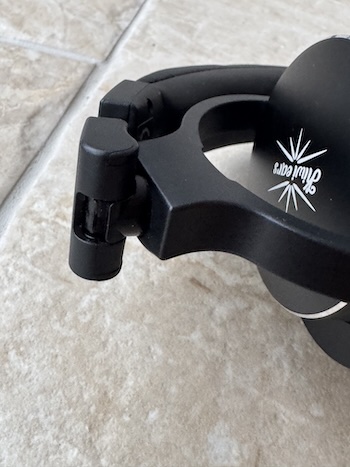
The extension mechanism was reasonable good at this price point:
And crucially there is some flexibility with the swivel for fitting your ears:
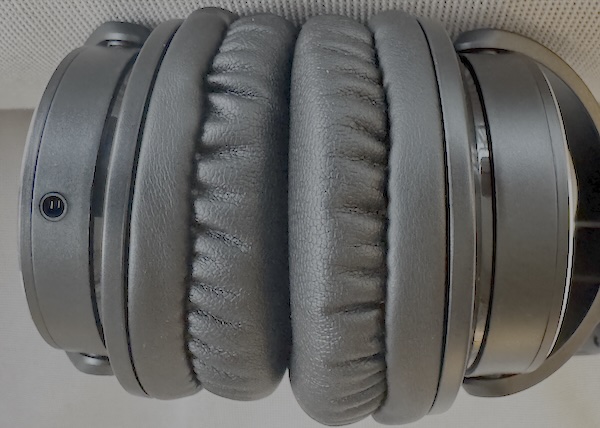
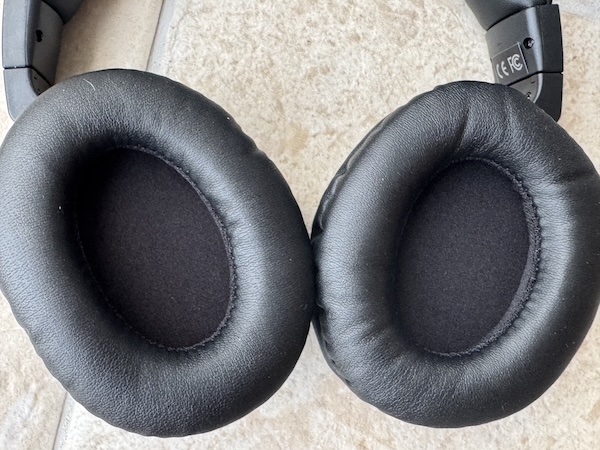
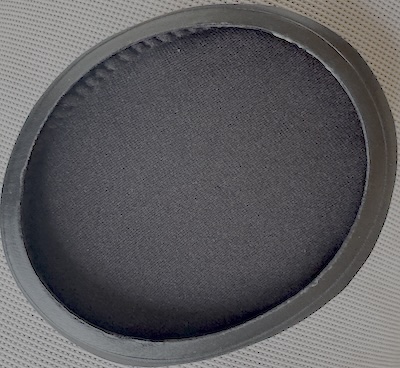
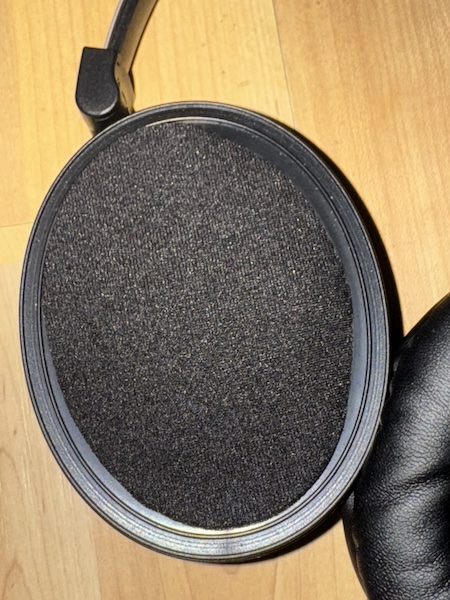
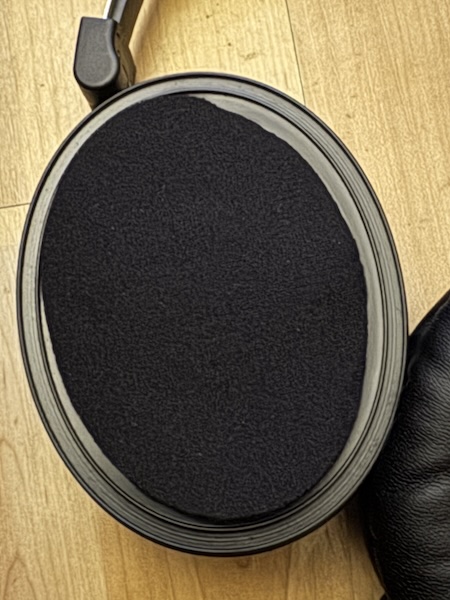
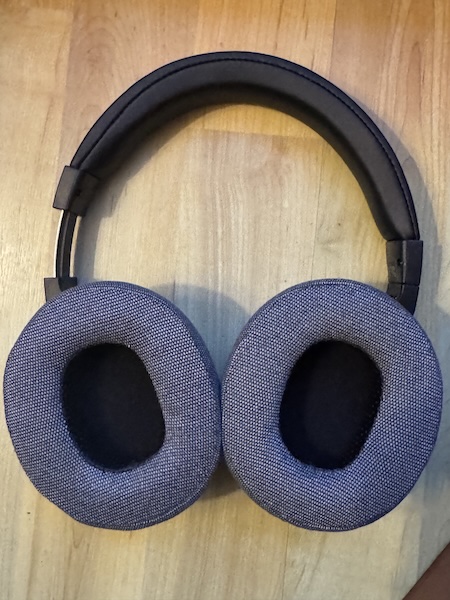
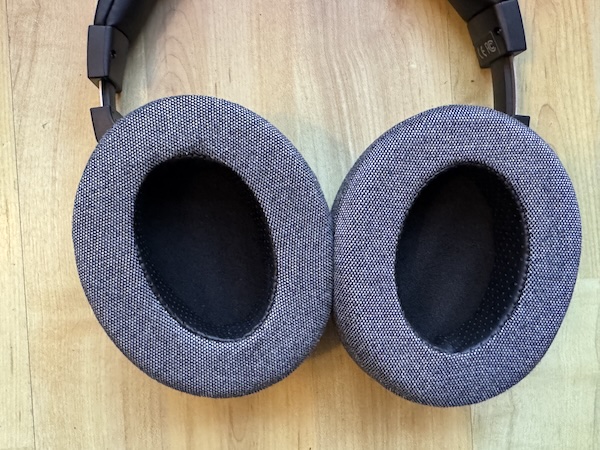
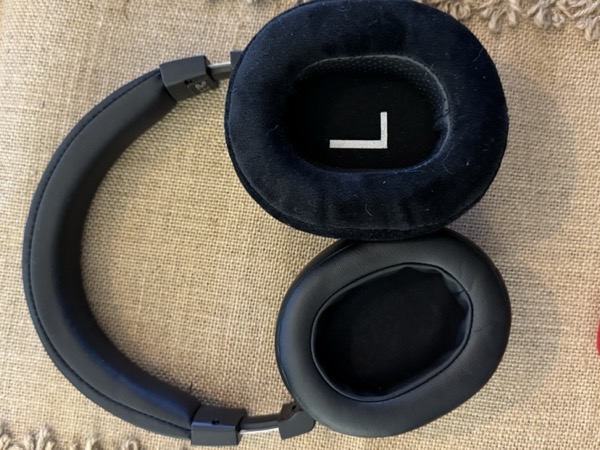
But I am not a fan of the stock earpads, they are small and not very deep. They
actually reminded me on the type of earcups you get on cheaper ANC headphones rather than a
studio headphone:
But, luckily the Division have used a standard mechanism with these ear pads so super easy to replace with easy to buy alternative earpads.
So, if the stock earpads do not suite you, there are lots of options with this design including very large
earpads, for example, here are a large velvet earpads that look massive compared to the stock ones yet still
fit nicely on the Division:
I will include a section later where I both used, but also measured a bunch of alternative ear pads, as that can be a problem with alternative earpads they can change the sound signature and not always for the better.
But let look at the driver first:
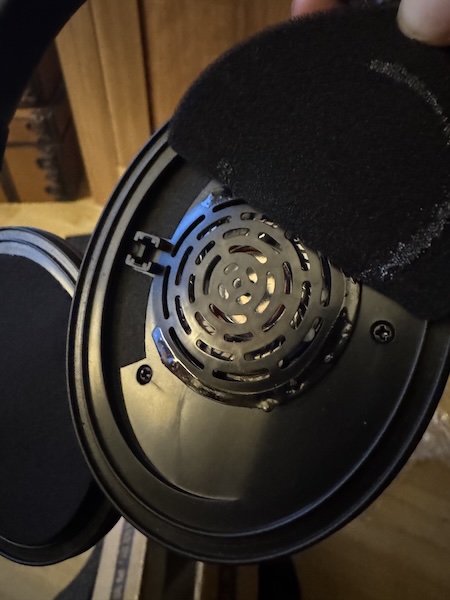
Accessing the Driver
So removing the stock earpads is super easy, while the stock earpads are small they have a very
small edge to attach to the earcups:
Once removed you see that there is a simple cloth covers over the drivers:
Zooming in on each:
One wasn’t attached as well but doesn’t really affect the sound:
They are attached with glue but can be easily removed:
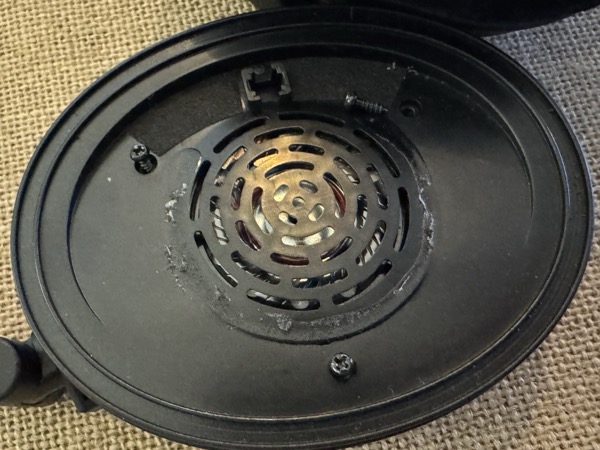
To finally reveal the 40mm driver:
Again, given it is a $50 headphone I should not expect too much and this does seem like a price appropriate driver.
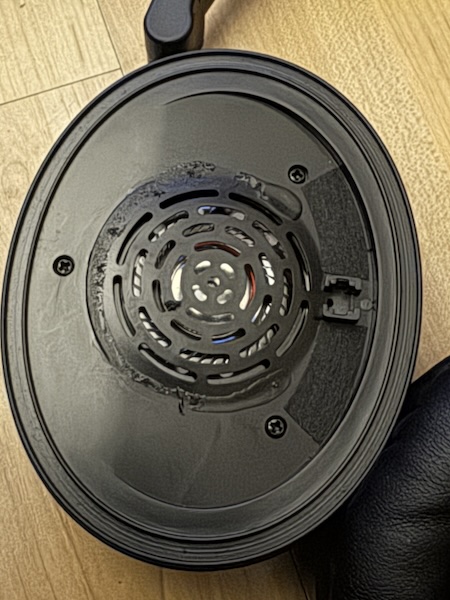
But given the overall headphone comfort and flexibility it is very good that you
have 3 screws here to remove the plastic covering the driver:
Removing the screws give you full access to the driver:
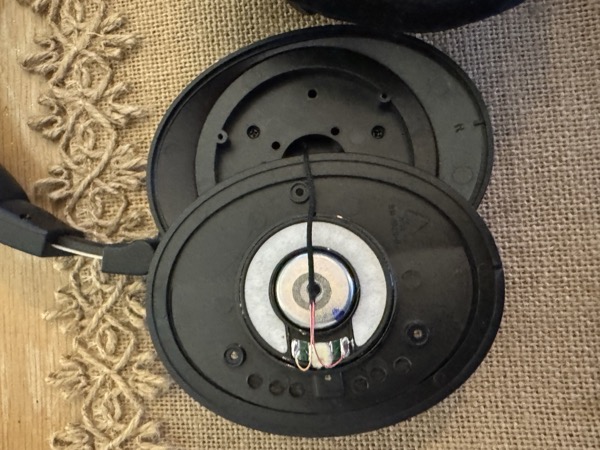
Here it is zoomed in:
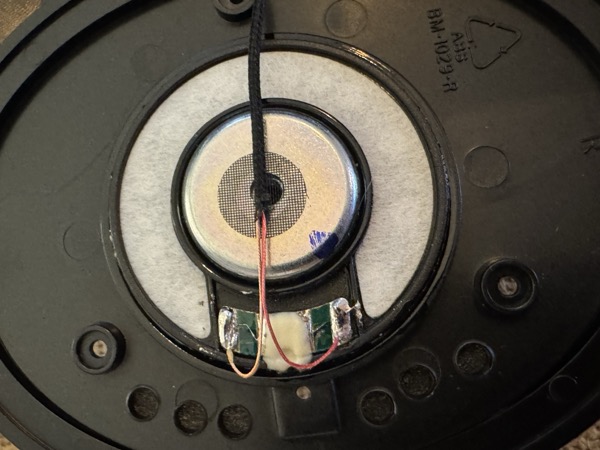
I can imagine swapping this driver with a better quality one with little effort.
Before we delve further in customisation, you might be wondering what they sound like out of the box. So lets get into the sound quality:
Sound Quality
So, the Kiwi Ears Division with the stock earpads delivers a bass heavy V-shaped sound signature rather than a studio reference sound but given the comfort and the flexibility of switching to alternative earpads for those who like that bass heavy sound signature this might be a great headphone.
Also, I can imagine this could be a great first headphone for someone who like to “tinker” with things. They might initially buy some cheap alternative earpads for extra comfort, then play with EQ to find their perfect sound signature, and maybe look at alternative drivers. Given its price it can be a fun way to get into this aspect of the hobby.
But let’s get into some of the details of what it sounds like:
Bass
The bass is a very bloated for my tastes, with a large mid-bass boost. Tracks like “Bad Guy” by Billie Eilish did showcase the Division’s ability to deliver sub-bass frequencies, though with the stock earpads the mid-bass does bleed into the midrange.
Midrange
The midrange is slightly recessed, but I found for female vocals it had some nice clarity. On tracks like “Someone Like You” by Adele, the headphone captures the emotional nuances of her voice with clarity and warmth.
Treble
The treble has a slight emphasis in the upper registers, which adds sparkle and airiness. While this tuning works well for detail retrieval, some listeners might find it a touch fatiguing, particularly at higher volumes.
Soundstage and Imaging
As a closed-back headphone, the soundstage is somewhat limited but still offers a reasonable sense of space. Imaging is precise, allowing for accurate placement of instruments and vocals in the mix. Live recordings, like “Hotel California ( Live)” by Eagles, sound engaging and immersive, though that bass does mess up the clarity a little.
Specifications and Measurements
| Specification | Details |
|---|---|
| Driver Unit | 40mm |
| Impedance | 32 Ω |
| Sensitivity | 98 dB ± 3 dB |
| Frequency Response | 20Hz - 20kHz |
| Plugs | 3.5mm + 6.35mm (1/4 inch) adaptor / 3.5mm |
With an impedance of 32 Ω and a sensitivity of 98 dB/mW, the Kiwi Ears Division is very easy to drive and pairs well with portable devices like smartphones and entry-level DAC/amps. This combined with the easy options for folding the Division make it a great portable headphone and also means it can take EQ easily while still be driven from a smartphone.
Measurements
Note: The following measurements were taken with my KB501X soft ear Pinna and a 711 clone coupler. They are available on my measurement database here.
Frequency Response
As I mentioned earlier, with the stock earpads the Kiwi Ears Division has a V-shaped frequency response, with a deep mid-bass response, a recessed midrange and an elevated treble:
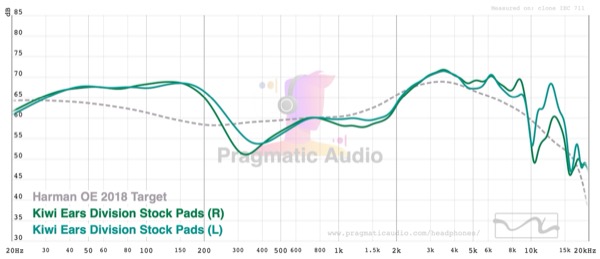
This sound signature can sound fun but is obviously not a reference sound signature.
Removing the foam cover material covering the driver you tame both the bass and the treble with the stock pads:

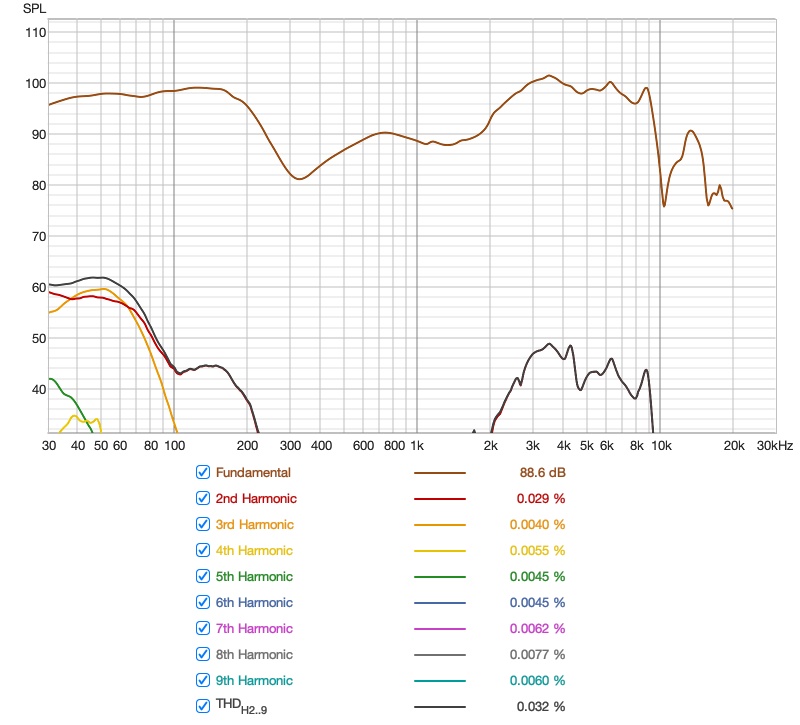
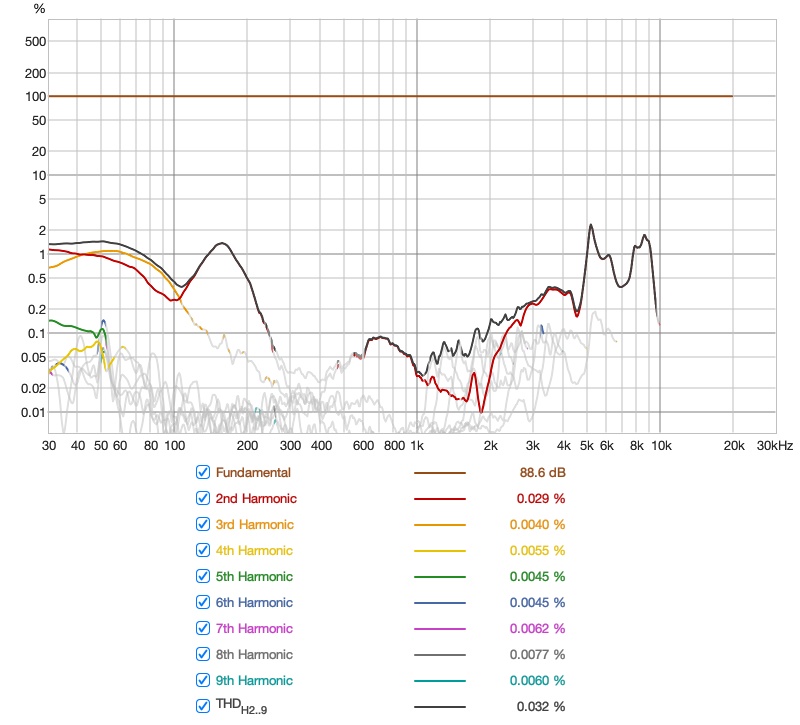
Distortion
Distortion levels are well within acceptable ranges:
And as a percentage:
Alternative Earpads
So, as I mentioned earlier, given the flexibility and general comfort of this headphone I thought it might be useful to try different earpads and I had bought a bunch of earpads on a recent Aliexpress sale so thought lets try a few and then measure some of the best of these alternative earpads:
So firstly I went for these nice material earpads:
 |
 |
These were nice but a little small on my ears.
Next I tried a bigger version of those
 |
 |
These were excellent, but I thought they change the sound signature again making it even more bassy.
I then tried a large velvet earpads
 |
 |
These were exceptional comfortable but again changed the sound signature in the wrong direction.
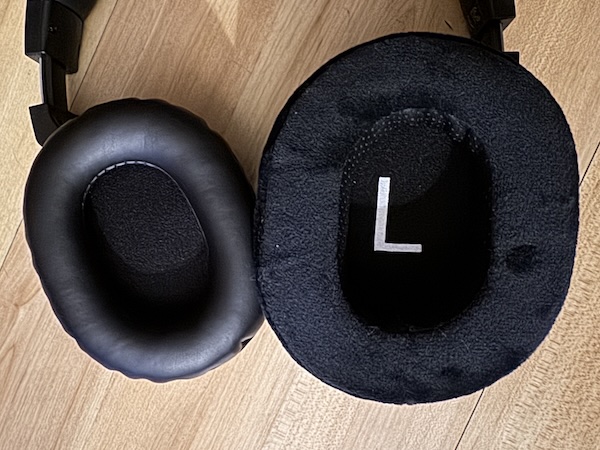
I then tried the earpads from my Sony’s
 |
 |
I found these were excellent and I decided to buy a similar third party earpads for $9.
So, these earpads are nice a deep:

In the end, these last earpads were the right size for me, much smaller than the large velvet
earpads but easily large enough and comfortable deep enough for my ears:
These also changed the sound signature for the better:
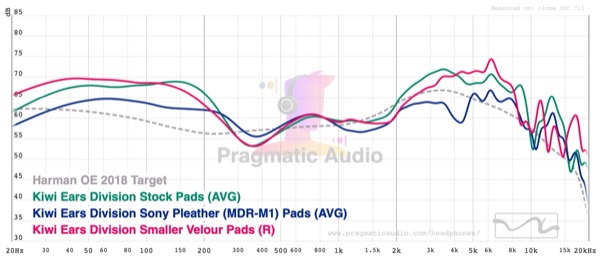
I would still use EQ, especially fix the ear-gain ‘presence’ region, but these earpads do tame this headphone significantly.
I also like how the headphones fold flat even with these Custom earpads:
EQ Recommendation
For an EQ recommendation and I would definitely recommend some EQ for this headphone for any “serious” listening but the default sound signature with the default earpads has a “fun” sound that will appeal to many people.
For the stock earpads here is what I would do to tame the V-shaped sound:
Preamp: -6.2 dB
Filter 1: ON PK Fc 150 Hz Gain -10.8 dB Q 0.700
Filter 2: ON PK Fc 350 Hz Gain 10.1 dB Q 1.700
Filter 3: ON PK Fc 1600 Hz Gain 3.9 dB Q 2.000
Filter 4: ON PK Fc 10000 Hz Gain -5.2 dB Q 0.500
These should turn the much more neutral sound headphone:
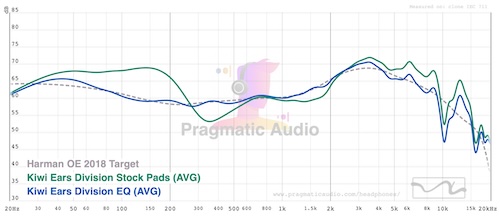
Overall with this EQ, the comfort, options for alternative earpads and the cost make it a good headphone for the price.
Rating
I’ve given the Kiwi Ears Division an 4-star rating. While the stock earpads hold it back, the combination of excellent comfort, decent customisablity, and exceptional value make it a compelling option for budget-conscious listeners starting out in this hobby. For my personal tastes I would recommend EQ to tame the bloated bass of the stock earpads. Since I have a few usb dongle that can apply PEQ filters and given its cost and comfort, I found this is a great headphone to fold up and pop into a bag to bring to my office, here it is with a FiiO JA11:
So the Division can be one of those devices which offers enough for a beginner to start with enough customisable options to bring it to various levels before eventually if they like the headphone customisation experience, then moving onto to the next level of headphones, so in summary a great starter headphone for those on a budget that like to experiment.
Conclusion
The Kiwi Ears Division is a solid debut into the headphone market from a company better known for its IEMs. At just $50, it offers a versatile headphone that offers an excellent choice for those looking to explore how to enhance headphones without breaking the bank. While an earpad upgrade is highly recommended for improved comfort and sound, the Division remains an impressive entry-level headphone that deserves your attention.